Google Firebase
Duration: 5 minutes
-
Login to your Firebase console
-
Click on Create project, enter a name & continue
-
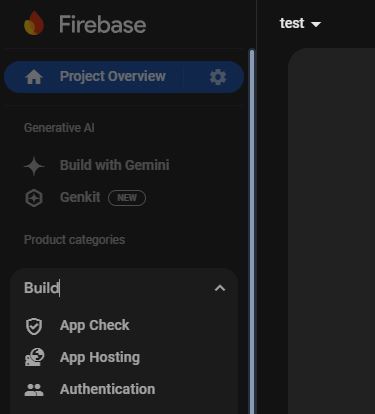
Click on Authentication
-
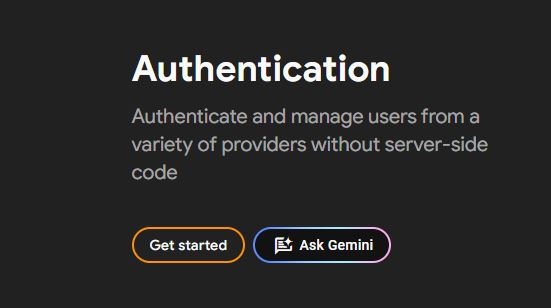
Click on "Authentication"Get Started"
-
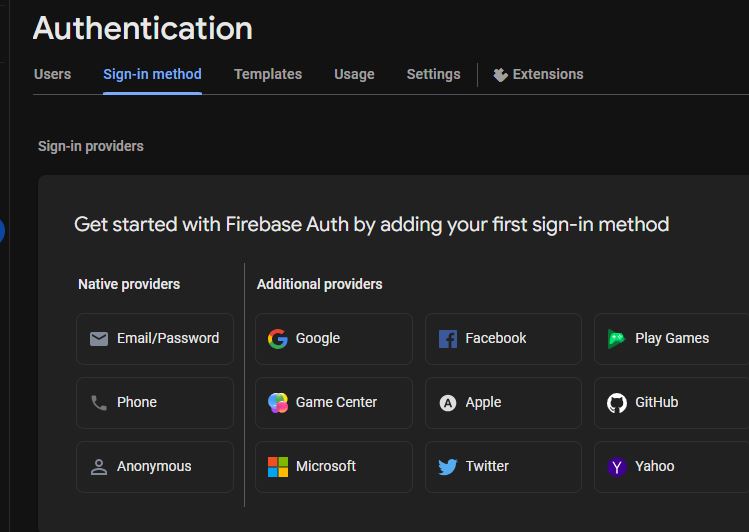
Navigate to Sign-in Method and click on Phone
-
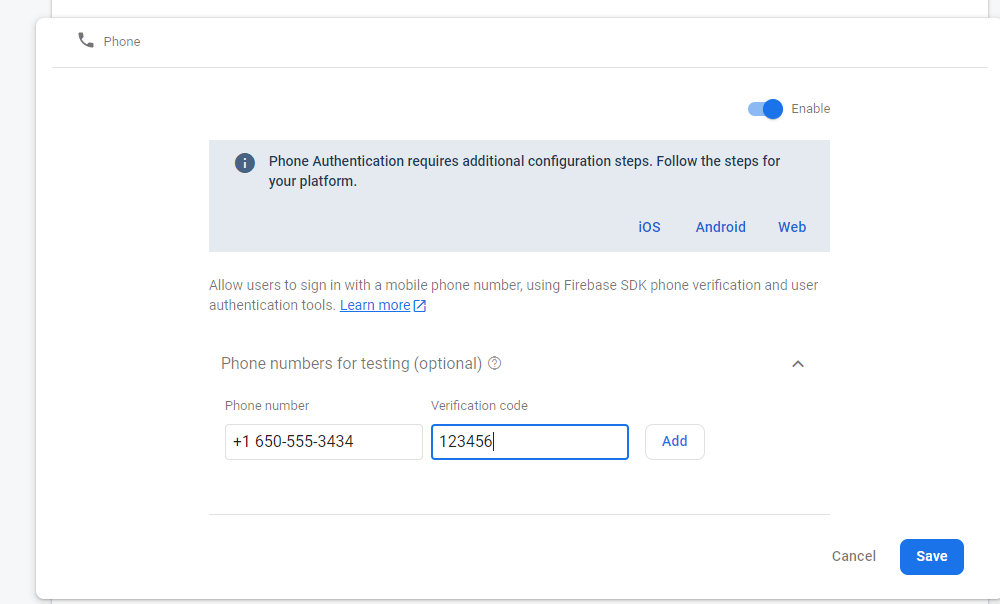
Enable Phone
-
Phone numbers for testing (optional)
Do not put your real phone number for testing otherwise you will not receive SMS. The phone number for testing should be a fake one.
For eg: you can use +1 650-555-3434 & 123456 as a verification code. Click on add & save.
-
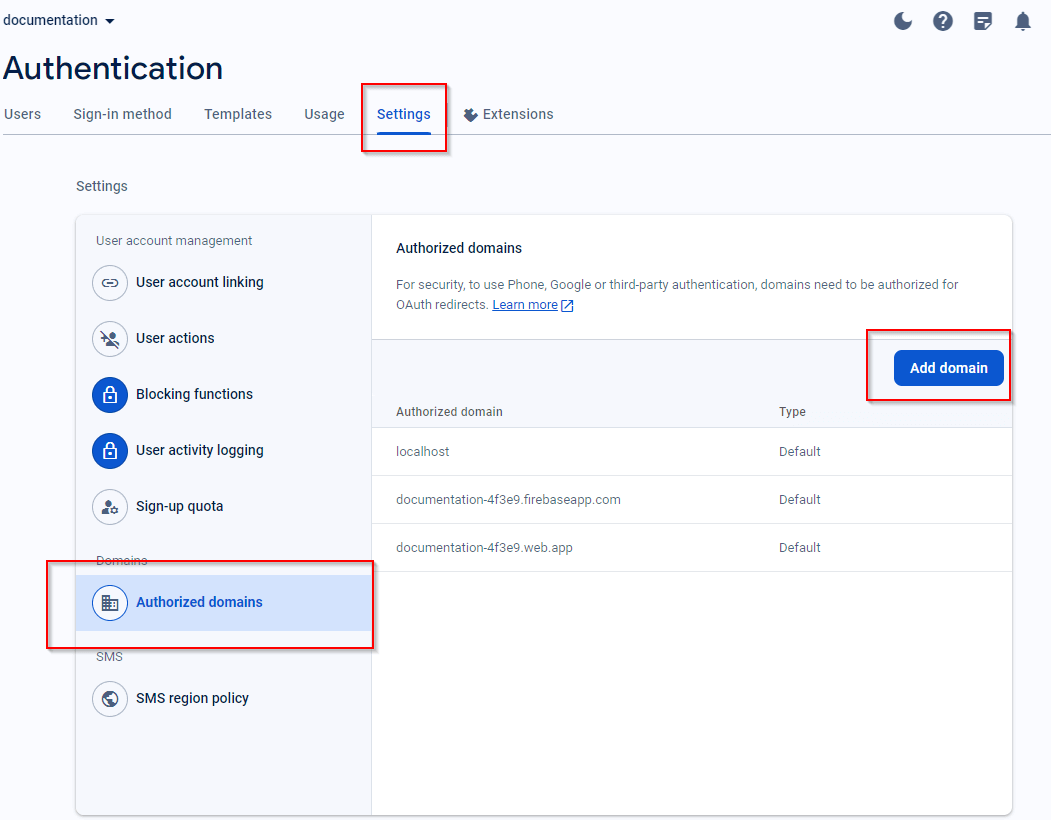
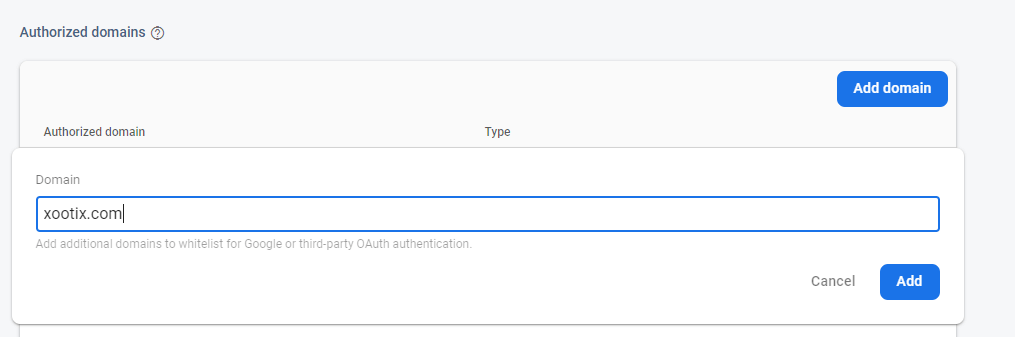
Go to Settings -> Authorized Domains and add your domain name. Copy your domain name from wordpress dashboard -> settings -> general -> Site address (URL )
-
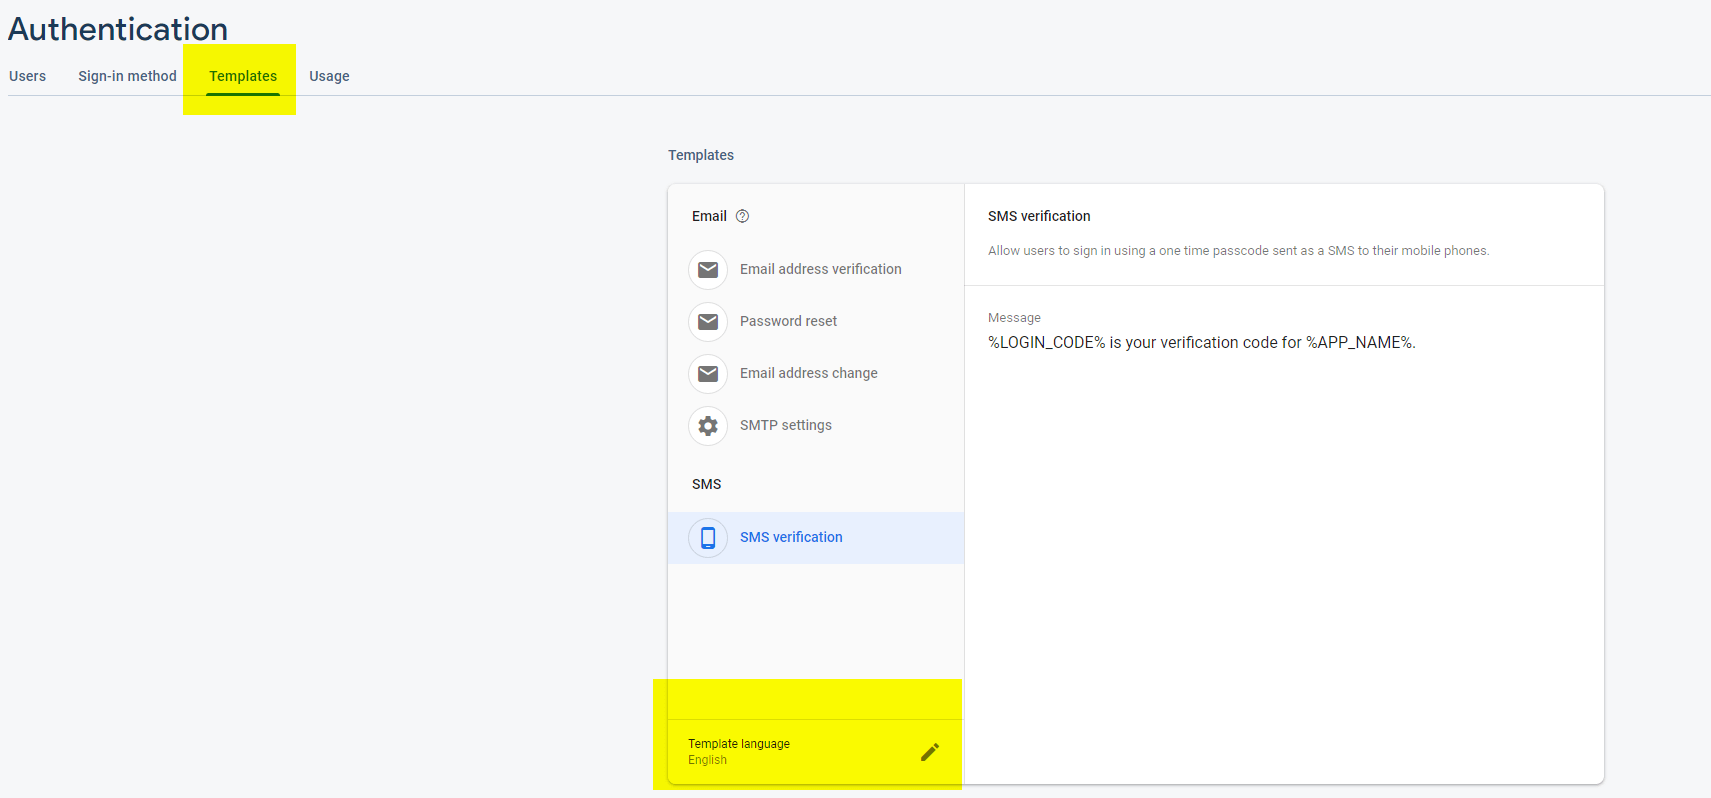
Switch to Templates tab & set your SMS language from there. Unfortunately google does not allow you to change message text & number of digits ( fixed to 6 )
-
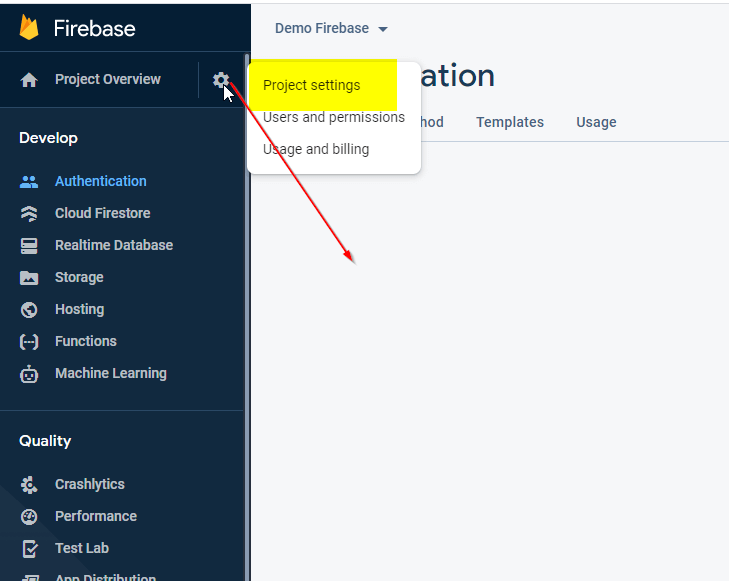
Setup API Keys
Click on the settings icon from the left & navigate to project settings.
-
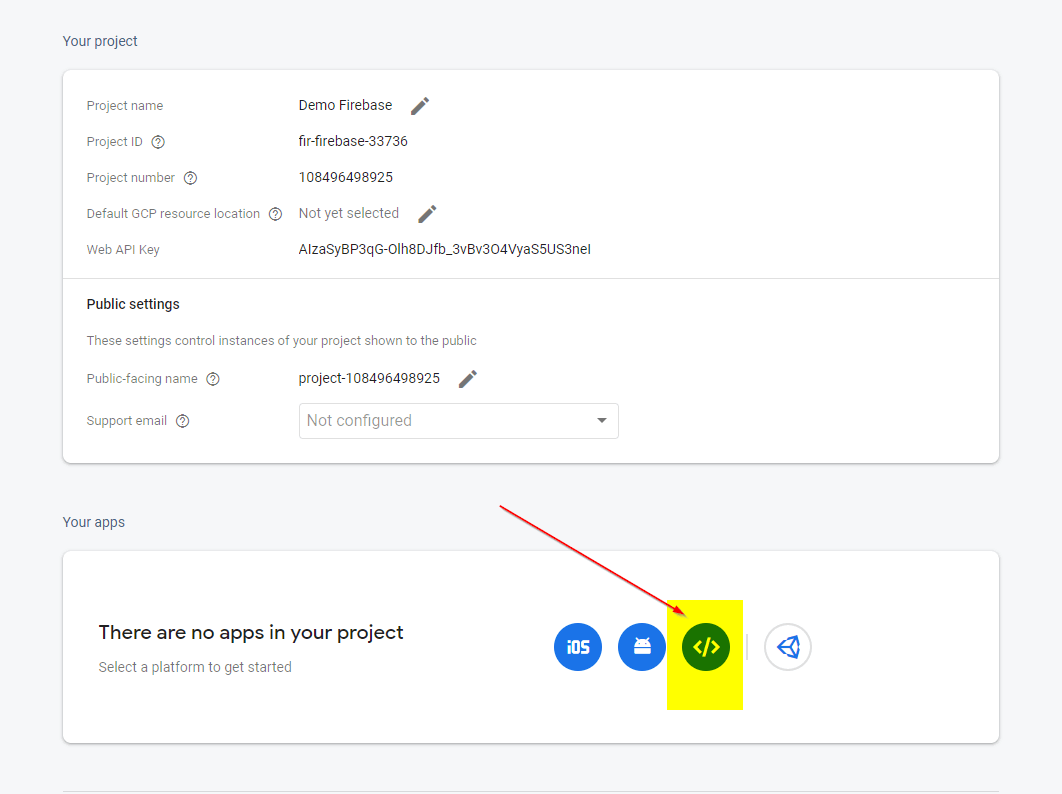
Under "Your Apps" section, click on the web icon
-
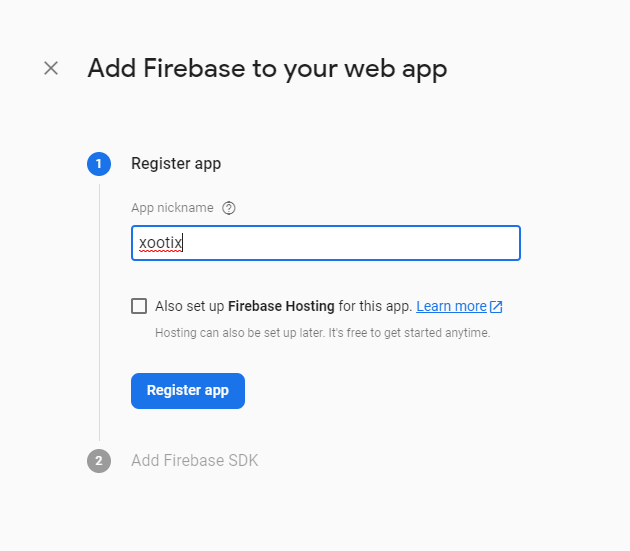
Add your application name to be shown in SMS & register app
-
Click on continue to console. Your web app will be listed.
-
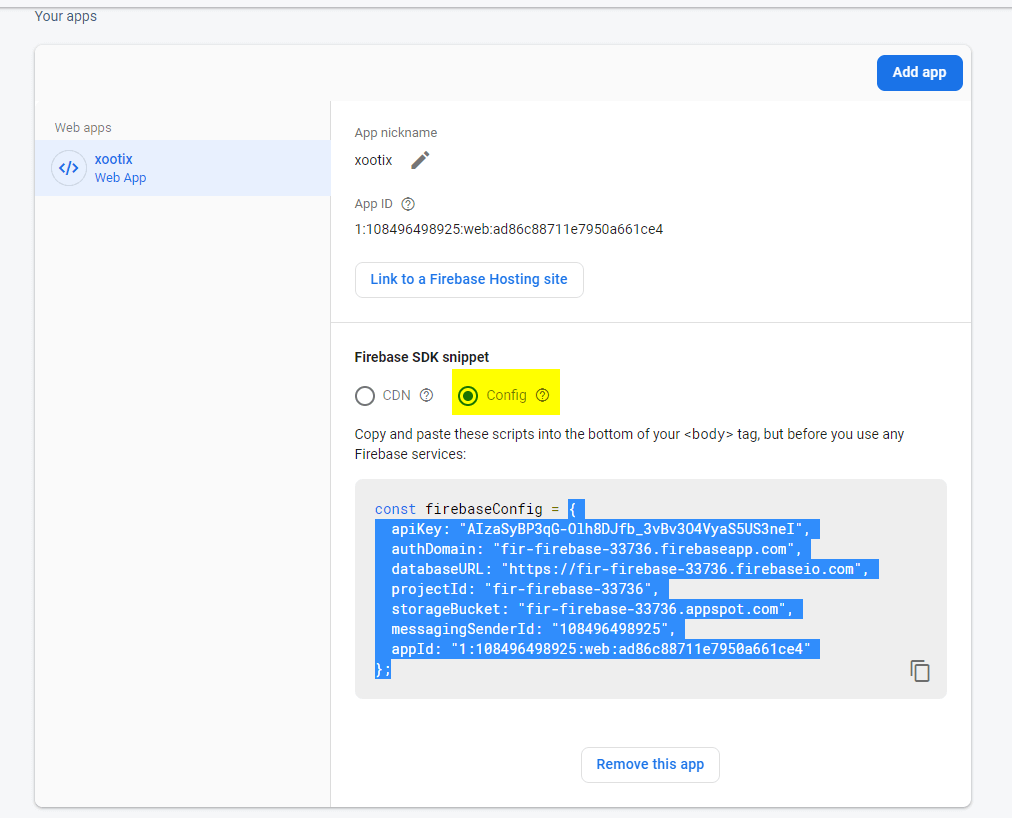
Click on Config radio under Firebase SDK Snippet.
Copy everything within the brackets, including brackets as well. (See Screenshot) Do not copy "const firebaseconfig ="
-
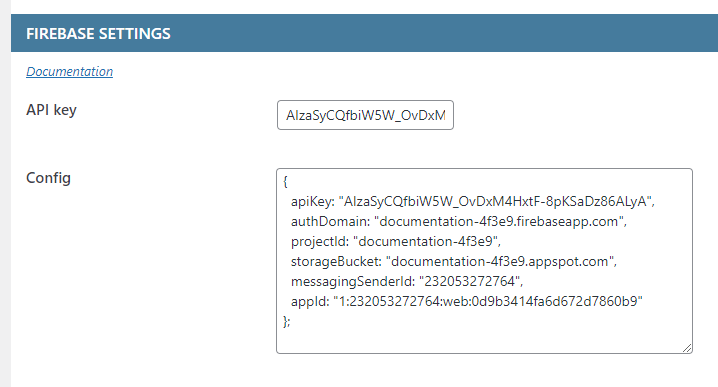
Go to your wordpess dashboard -> Mobile login settings -> Services & paste the selected text in config option under "Firebase settings"
-
Similarly copy your API key from the config (without quotes) & paste it in "API Key" under settings
-
- Navigate to "Project Overview" -> Usage and Billing
- Click on "Modify Plan"
- Select Blaze Plan
- Choose your billing account and link it. If you don't have one, create a new billing account.
-Wait for a minute or two and your billing account will get linked
- That's it. Enjoy the plugin.

 - Choose your billing account and link it. If you don't have one, create a new billing account.
 -Wait for a minute or two and your billing account will get linked