WhatsApp
Duration: 10 minutes
- Log in to your Facebook Apps dashboard.
-
Click on “Create App”.
-
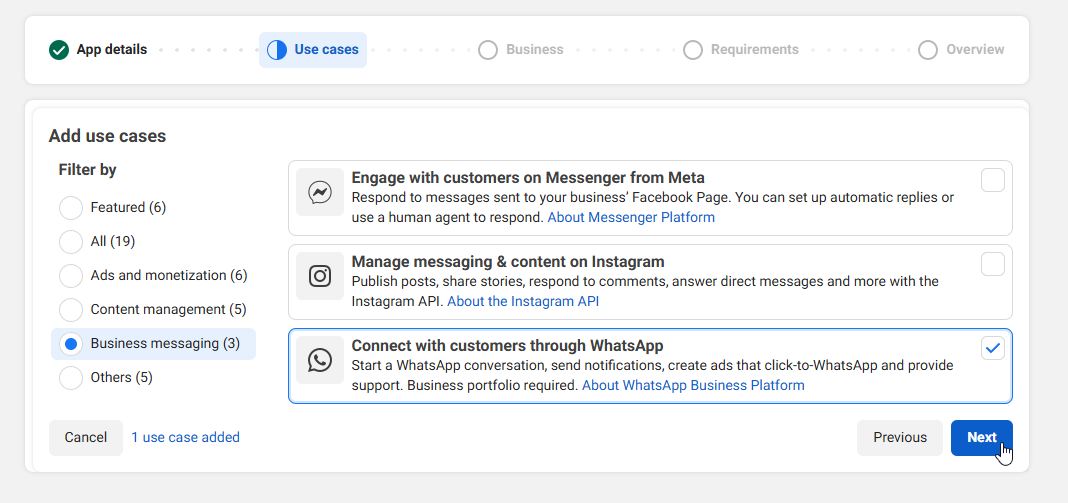
Enter the app details. Under “Use Case”, select “Connect with customers through WhatsApp”.
-
Select your business portfolio in the next step. If you do not have one, click on “Create”.
-
[Create Business Portfolio] After creating your business, make sure to verify it by submitting the required documents. Verification is necessary for WhatsApp to work, and it is recommended to complete this step now, as Facebook may take a few hours to verify your business details.
-
Proceed and complete the app creation process.
-
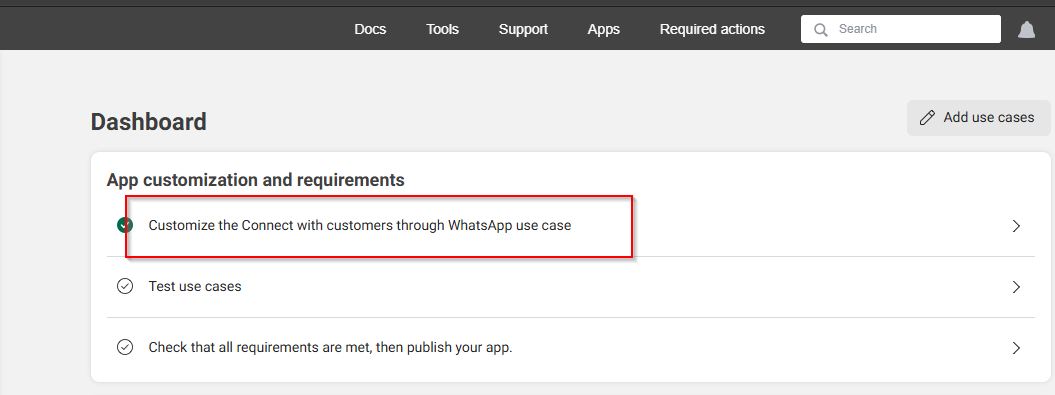
From your App Dashboard, click on “Connect with customers through WhatsApp”.
-
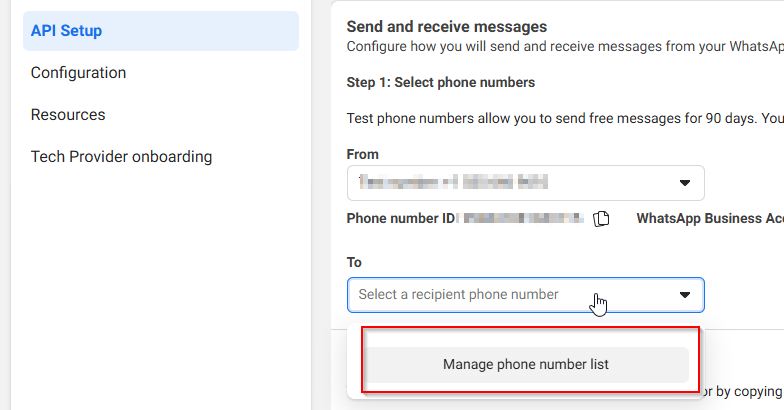
Navigate to “API Setup”. Under “Select Phone Numbers” → “To”, add your personal phone number. This number will receive verification codes for testing purposes.
-
Once your phone number is added and verified, click the “Send Message” button in **Step 2: Send messages with the API** and confirm that you receive the test message.
Adding WhatsApp account and live phone number
- *Requirement* You will need a phone number that is not already linked to a WhatsApp account.
If it is linked, you must click on “Delete Account” by going to your phone’s WhatsApp → Account Settings.
This number will become your business phone number and will be used to send verification messages to your users.
-
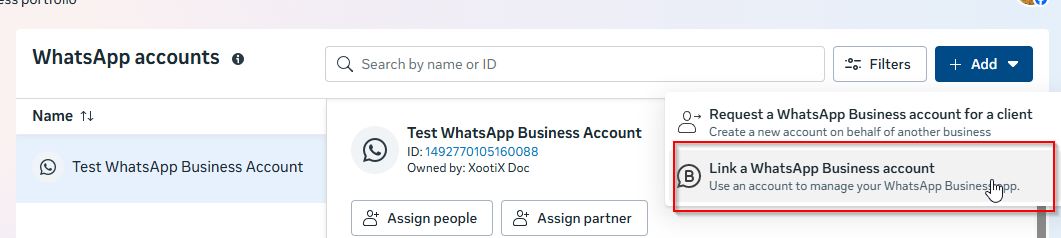
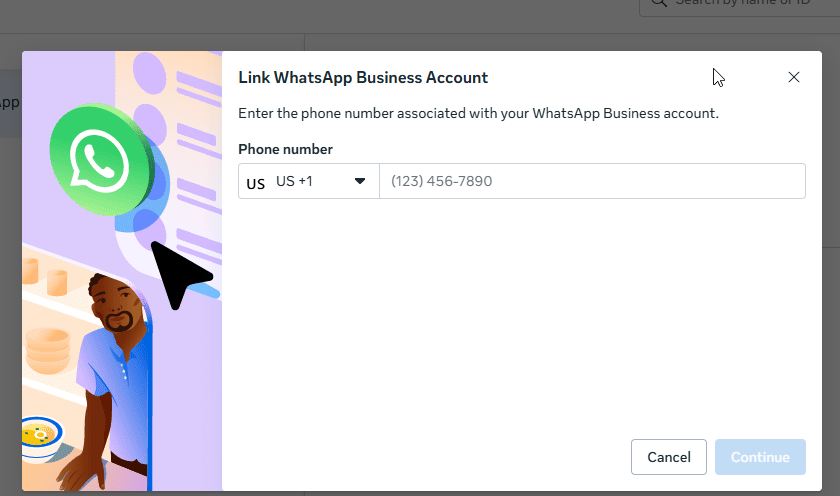
Once you have the phone number, navigate to WhatsApp accounts and click on “Add”.
-
Add your business details and phone number.
-
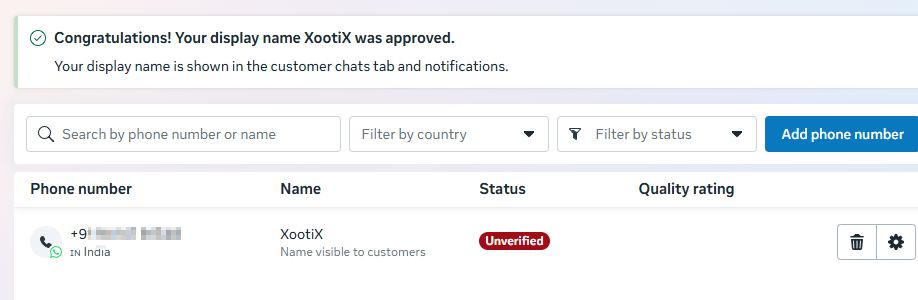
Once the number is added, refresh the page, select your recently added number, and verify it.
-
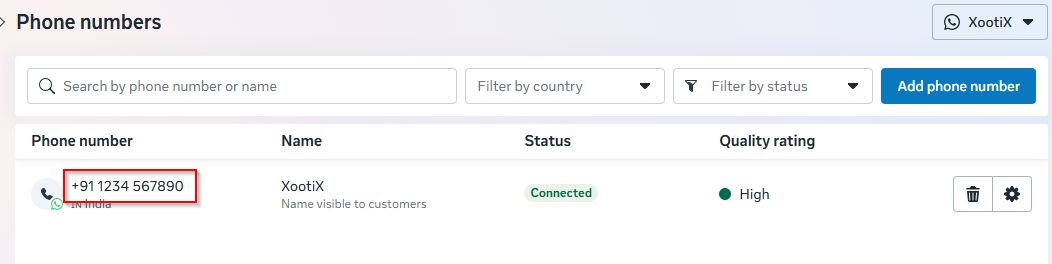
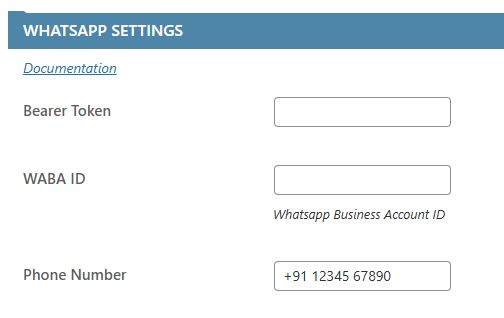
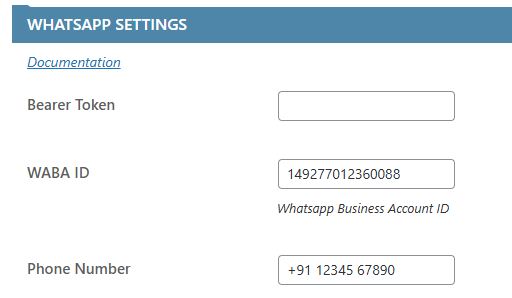
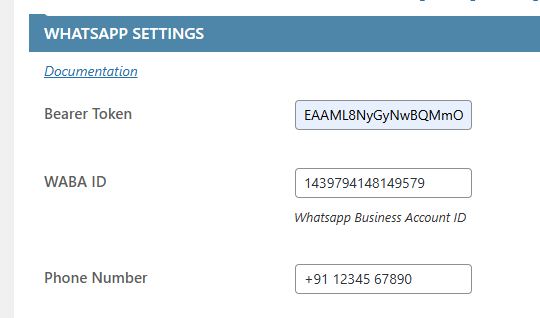
Copy the number exactly as shown and paste it into your OTP plugin settings → Services → WhatsApp → Phone Number.
-
Navigate to WhatsApp accounts, copy the Account ID, and paste it into Plugin Settings → WABA ID.
-
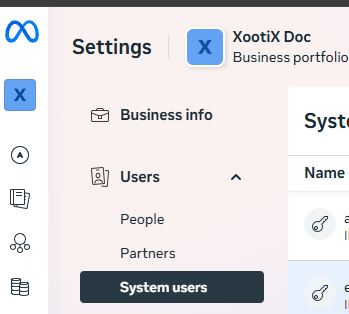
Now open Business Settings. Navigate to **Users → System Users**.
-
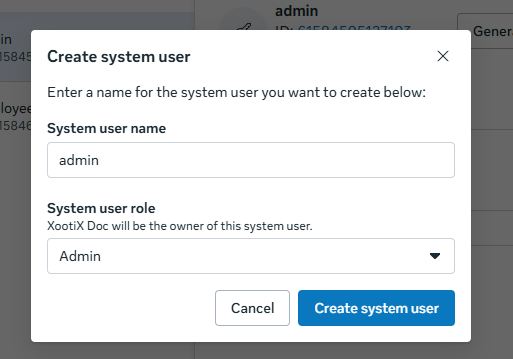
Click “Add” and create a new System User.
-
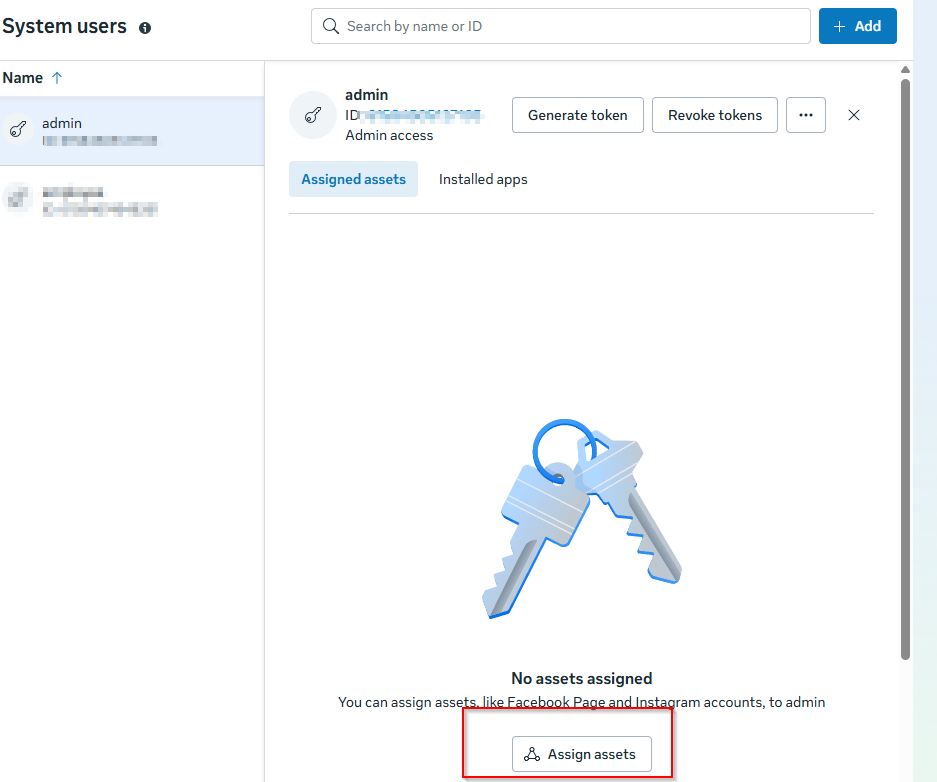
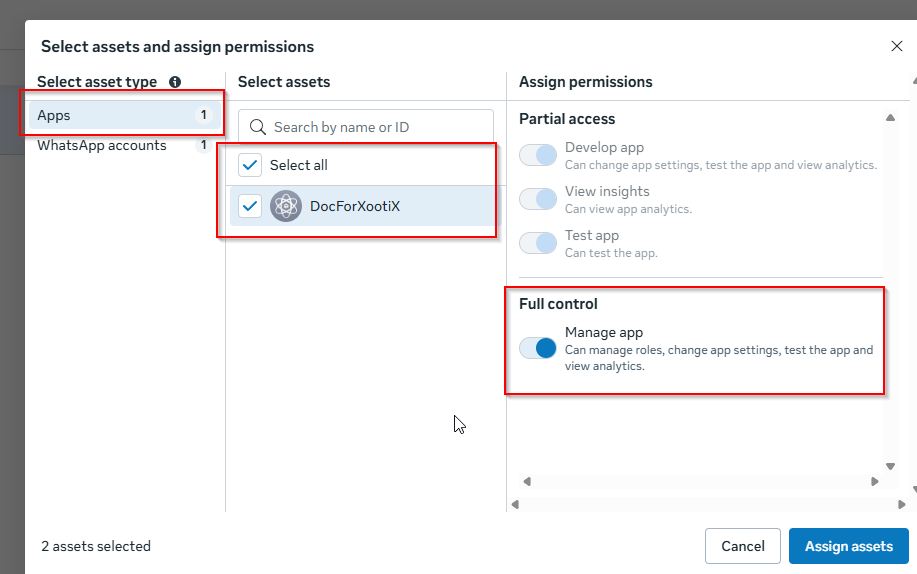
After creating the user, click on “Assign Assets”.
-
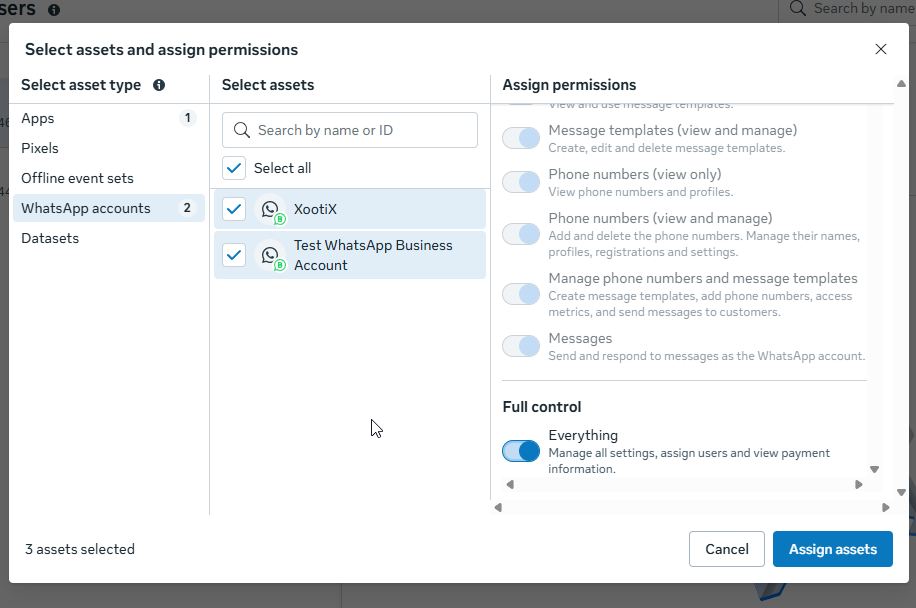
Grant “Full Control” access to both **Apps** and **WhatsApp Accounts**.
-
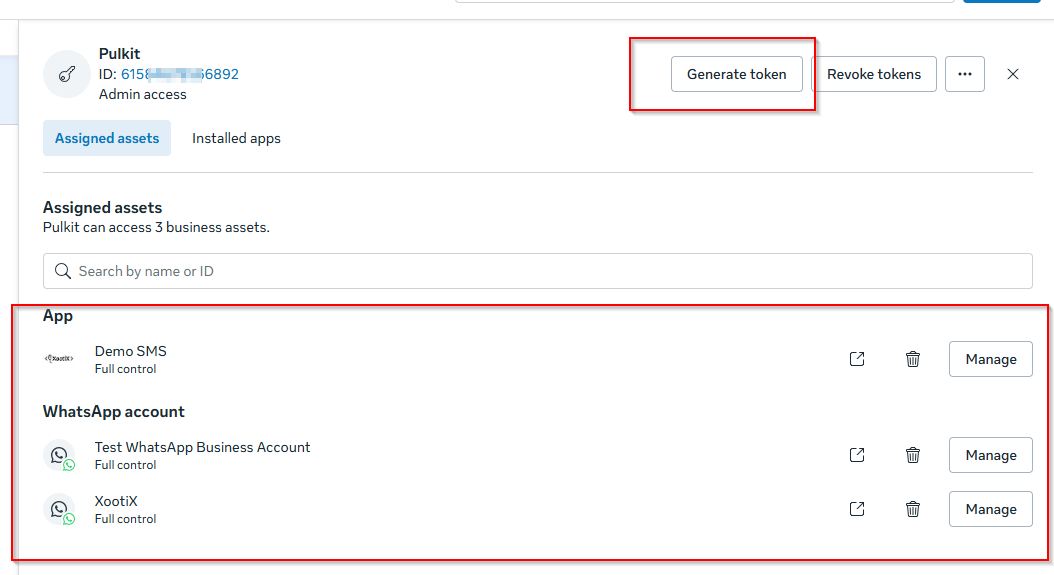
Refresh the page. You will now see the assigned assets. Click on “Generate Token”.
-
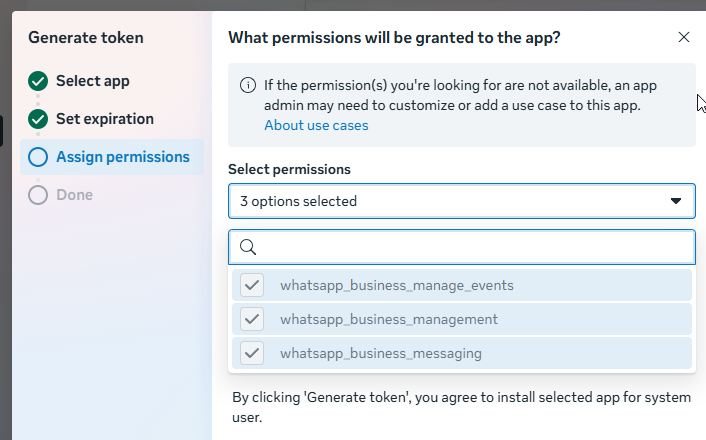
- Select the app → Next
- Set token expiration to “Never” → Next
- Enable all permissions → Next
- Copy the generated token and paste it into Plugin Settings → Services → WhatsApp Account → Bearer Token.
-
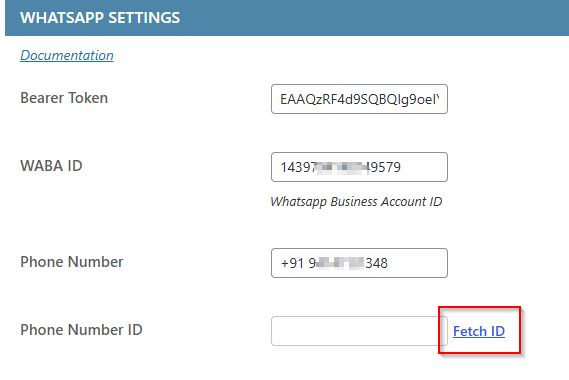
Under plugin settings, click on “Fetch”.
-
If the above settings are correct, your Number ID will be fetched. Now enter the 6-digit PIN to register your number.
~ Creating WhatsApp OTP Template
- To create a WhatsApp OTP template, make sure your business is verified.
-
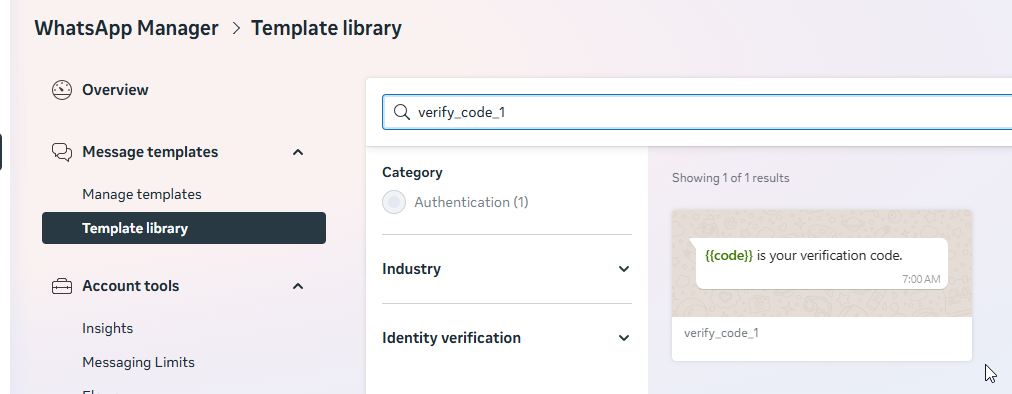
Visit your WhatsApp Manager Template Library.
-
Select the template “verify_code_1” from the “Authentication” category.
-
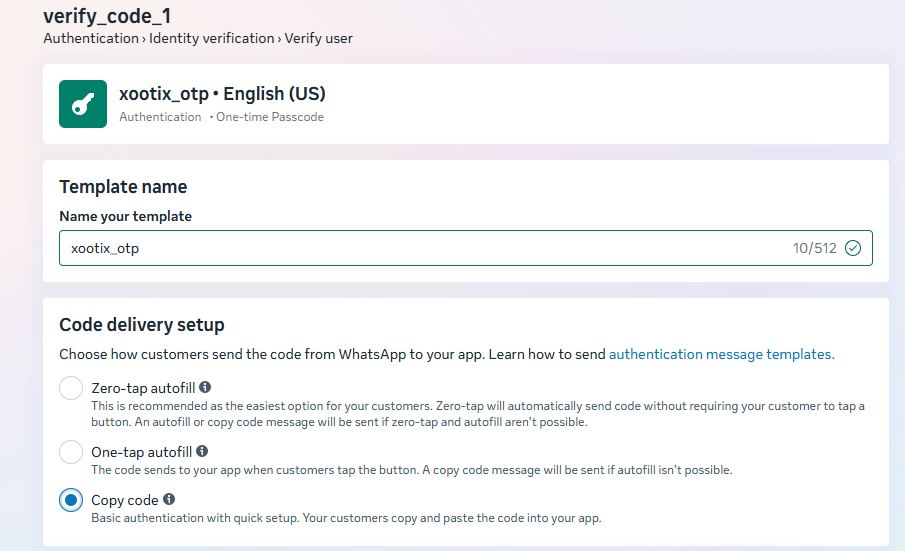
Enter the template name and choose “Copy Code” as the template setting. Click on “Submit”.
-
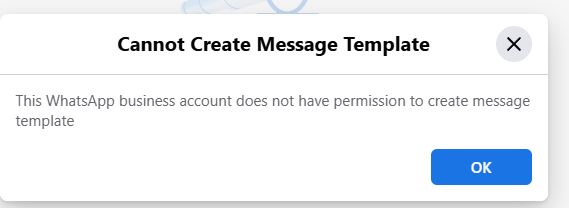
*Error* If you encounter this error on submission, it means your business has not been verified yet or the number is not registered. If the business was verified recently, wait a few hours. The error should disappear within 24 hours. You may proceed with the remaining steps.
-
Once the template is created, copy the template name and paste it into the plugin settings.
-
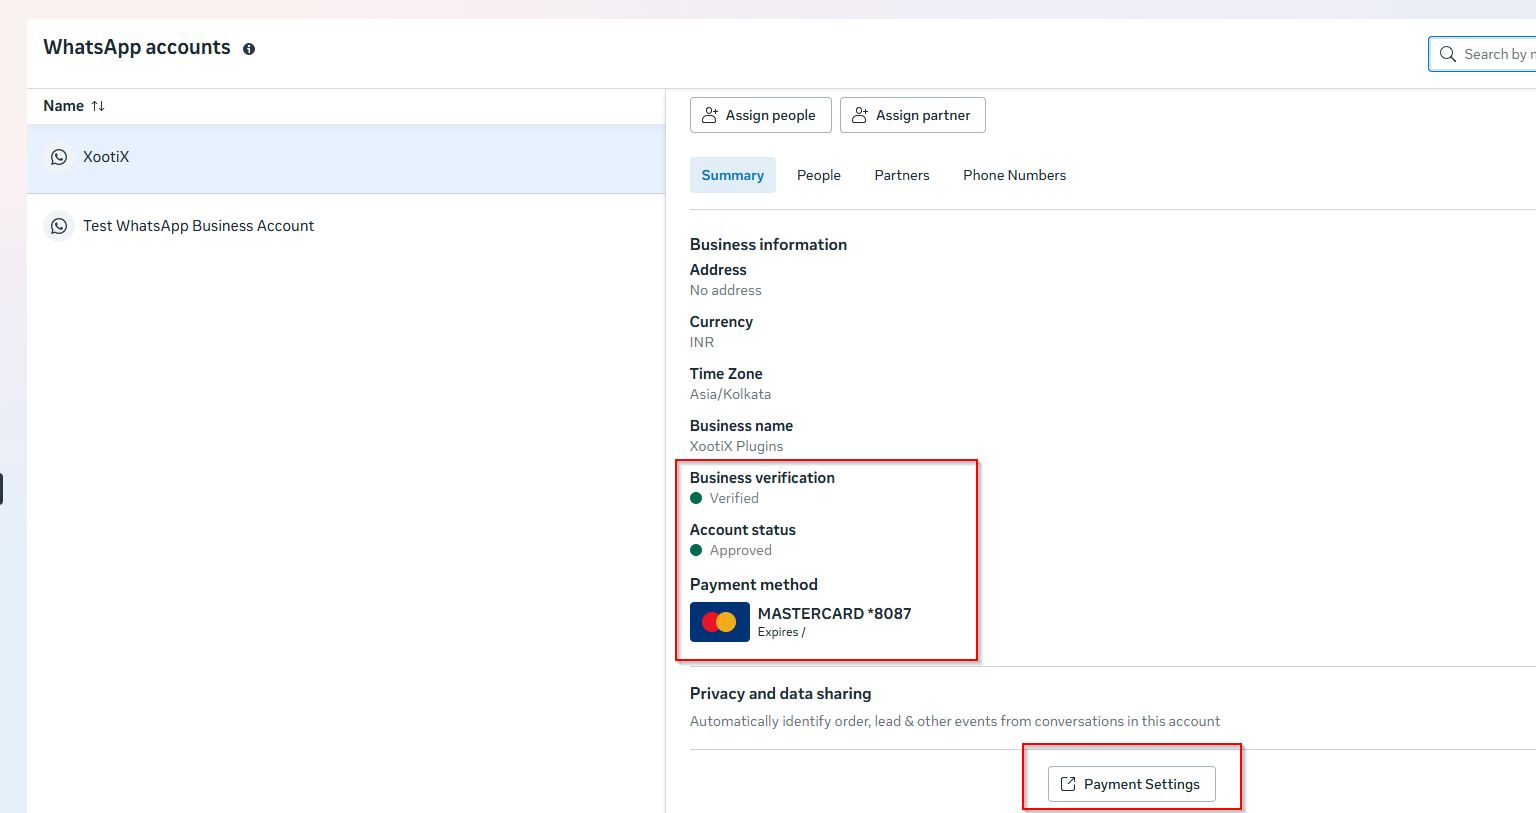
Navigate to WhatsApp accounts and ensure that your business is verified, the account is approved, and a payment method is connected. You can add a payment method by clicking on “Payment settings”.
-
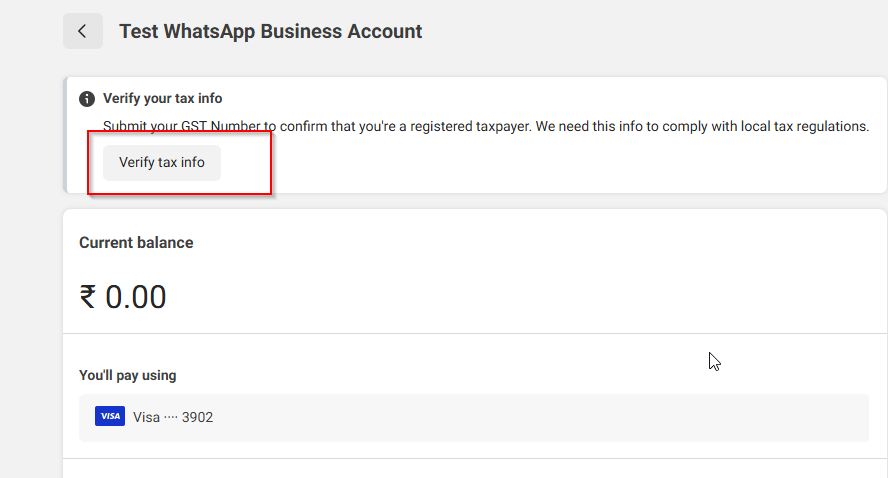
On the Payment Settings page, if prompted to verify tax details, click on it and complete the process.
-
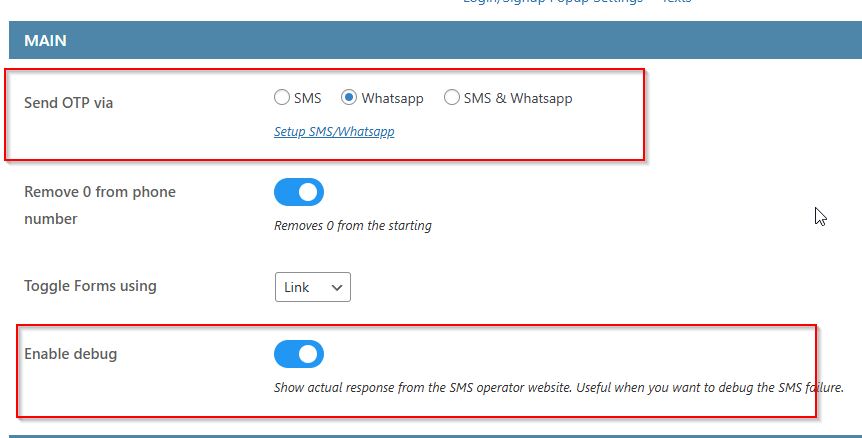
Make sure “WhatsApp” is selected under the **General Tab**.
You may also enable “Debug” mode (remember to disable it later once everything is working).
-
That’s it. You should now be able to send WhatsApp messages.
- For testing purposes, you can use the WhatsApp test business account and phone number. You will not be charged for test messages.